Children's Rooms and Nurseries

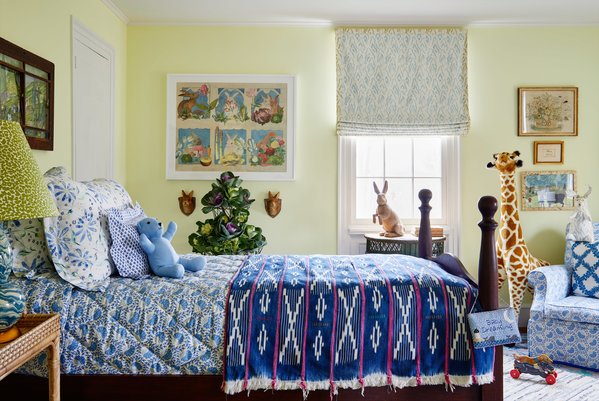 A Nursery to Grow Into.
Where to start with a nursery- the all important first collection . Start by adding your own inherited favorite objects and then begin to assemble the child's unique first collections. A guiding principle to keep in mind is one told to us by the iconic designer Daniel Romoldez, he said " An art dealer friend of mine told me he thought then best art collections were created when the people kept the paintings they bought when they had no money. He thought it important that they are still in the collection and also the idea of keeping the mistakes . Because when everything is so refined and upgraded the collection starts to lose its personality"( Sister Parish Design On Decorating by Susan Crater and Libby Cameron)
The takeaway here is that there are no mistakes and expressing personality is paramount, especially in a nursery collection.The first flea market finds, small gallery choices, estate sale steals , will always resonate in the child's mind as a favorite memory when hung or placed in his or her room. Sister Parish was particularly adamant about always picking up a small object or painting for your children's rooms on one's travels. This , she said, " is how collections are made". Whether a ceramic bowl or a miniature porcelain animal , the objects become part of the room's layering and charm.
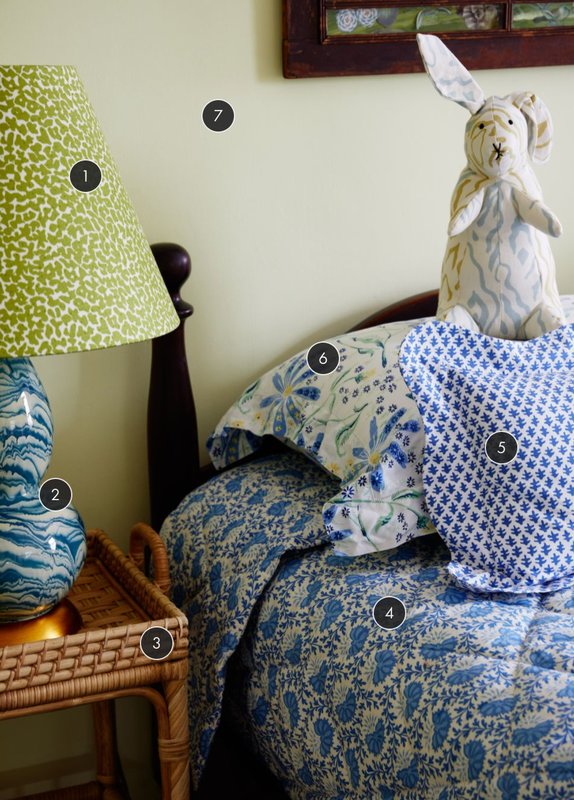
Next we go to the bones of the room-the textiles, window treatments, rugs and bedding . Our goal is to create a playful, unique space that is whimsical enough for a child’s room, but sophisticated and ready to be used as a guest room in years to come .
Below Creative Director Eliza Crater has outlined practical tips on picking a painted trim and furniture color, how to order her favorite custom quilted coverlet and tried and true flat roman shade from your local workroom. (Note that we’ve included an approximate yardage amount for certain items, but recommend you always order as much as the workroom suggests)
Finally the textiles and wallpaper Eliza used in the spaces along with several sources she used for rugs, hardware and lamps are highlighted . Here is the nursery childrens room guide to step by step , memorable purchase by memorable purchase , build a
Sister Parish Design children's rooms and nursery look to last forever
It all starts with a crib.
Eliza’s tips for making a crib skirt!
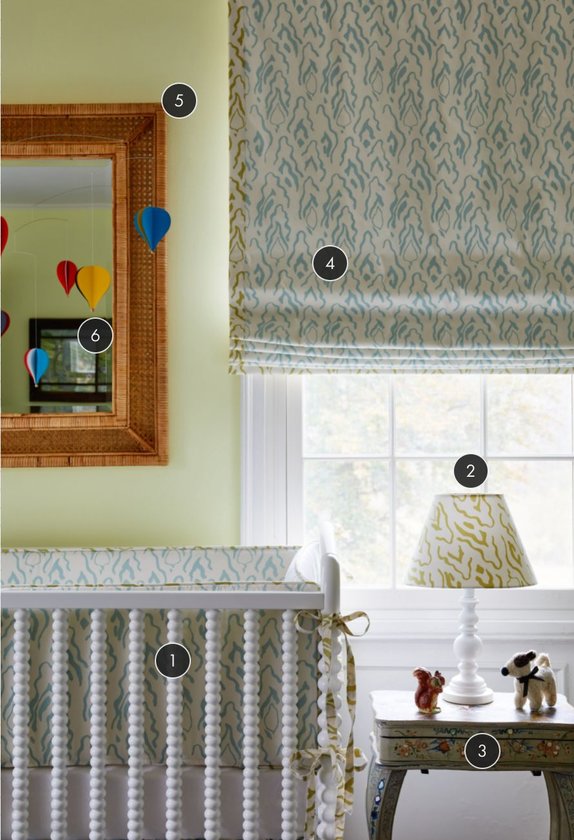
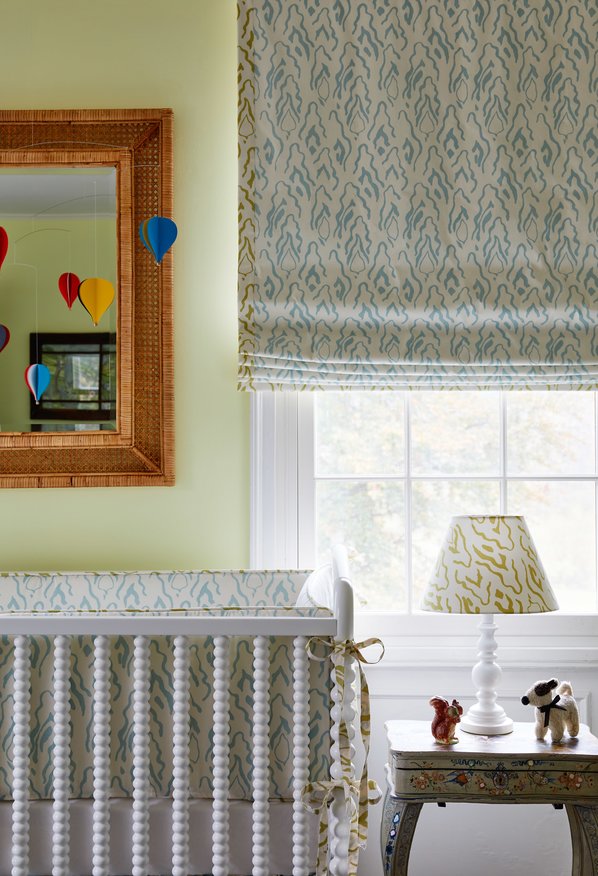
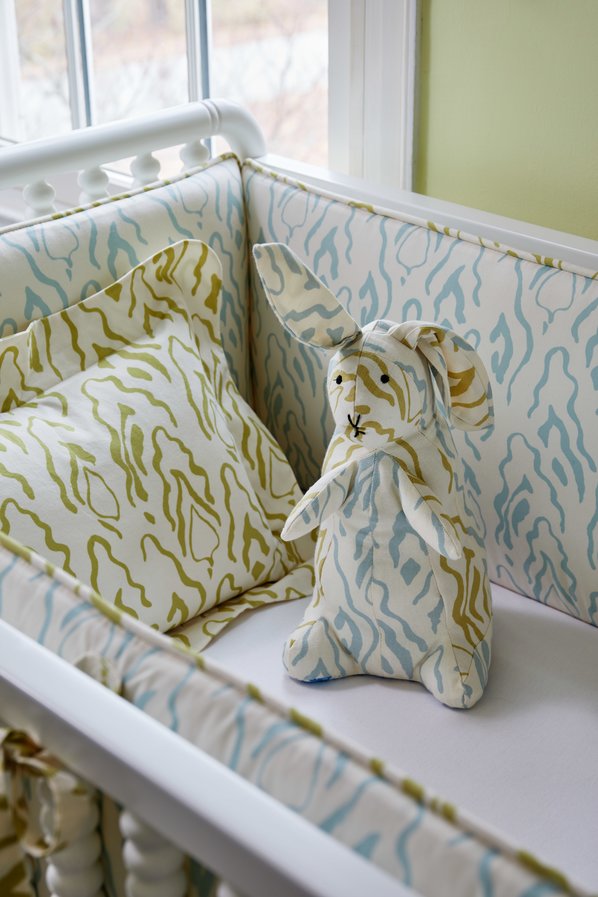
Decide the width of the contrast band based on the size of the pattern itself. The Ogden pattern lent itself to a 2" wide contrast band.
Fabric Used:
Eliza used 3 yards of Ogden in Carolina Blue for the main fabric and 1 yard of Ogden in Citrus for the trim.
Every nursery needs a crib, so a must in any nursery is a custom crib skirt – the perfect starting point for your design decisions. A skirt doesn’t require too much fabric and it adds an instant pop of pattern and color to your baby’s room. The color and pattern you chose for the crib skirt will help inform additional colors and patterns you can layer into the space.
Eliza’s tip for selecting a wall color.
Paint Used:
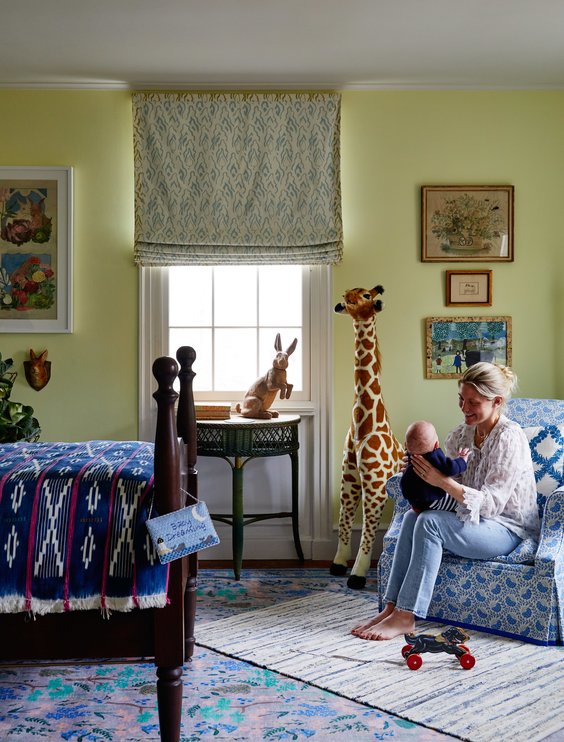
Eliza used Benjamin Moore Summer Lime 2026-60
When choosing a wall treatment for your nursery, think long-term. You’ll want to select a wallpaper or paint color that your child can grow into. With this in mind, I chose a solid color (Benjamin Moore Summer Lime 2026-60) for my son’s nursery. To this day it’s still one of my favorite colors! If you want to experiment with patterns (which I adore, especially in a nursery/child’s room), I suggest choosing a soft, soothing paint color for your walls and then adding prints and textures through upholstery, pillows, artwork, and textiles. A softer paint color will ground the room and keep it feeling relaxed even with multiple patterns layered in.
Once the baby comes you’ll have your hands full - so the goal of the nursery is for it to easily transition into a child’s room so you’re not feeling the urge to re-do the space as your baby grows. Keep this in mind when choosing your color palette!
Click here for our “Eliza Schemes: Nursery & Children’s Room Swatch Set” which includes our most popular fabrics and textiles for nurseries and children's rooms.
Eliza’s tips for blackout shades in your nursery!
Fabric Used:
Eliza used 3 yards of Ogden in Carolina Blue for the main fabric and 1.5 yards of Ogden in Cirtus for the trim per each shade. For this shade the trim was was 2" wide.
Black out shades are essential for a nursery and that precious baby’s sleep. Now that you’ve selected your crib skirt fabric, you can either match the shades directly to the skirt (that’s what I did) or pick an entirely new fabric with a corresponding colorway.
Design Tips:
- Apply a contrast band of fabric to four sides (top, bottom, left side, right side) as it packs more of a punch!
- Decide the width of the contrast band based on the size of the pattern itself. A small all-over contrast fabric band or a solid fabric contrast band should be 1 1/2" - 2” wide. (2" wide is what you see pictured here)
- Ask for black-out lining to ensure the room will be nice and dark!
- I recommend installing your shade outside mount if it is black out lined as it provides the most coverage. I typically make the shade 2" larger than the overall width of the window (I measure the window by measuring the outer edge of the trim to outer edge of trim).

Eliza’s tip for making pillows!
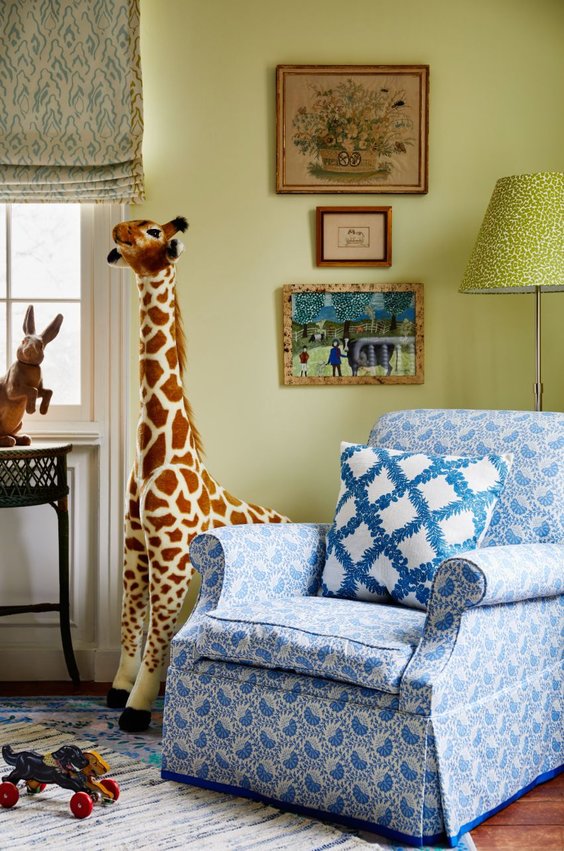
I absolutely recommend investing in custom pillows for your nursery. This is a way to add beautiful detail that doesn't necessarily have to live in the nursery forever. We carry several ready made options on our site but there’s nothing like creating a few custom pillows of your own design.
Design Tips:
- For the nursery chair, make a pillow “to fit the back”. To do this, measure the inside seat back of the chair for the length of the pillow and the height will typically hover between 12” - 14” depending on the height of the inside seat back.
- If having a square pillow made, be sure to order an insert that is 2” bigger so that the fill is super plush. (For example, if you’re having a 18”x18” case made, order a 20”x20” insert.)
Click on the links to shop the room below:
- Tags: Get The Look


